We offer shipping to the continental United States. All paint orders are sent via UPS ground. For expedited delivery please reach out to roomandboard@hirshfields.com

FAQ
FAQ
-
-
Free ground shipping is included in the price of paint. Postal rates are included in the price of Peel & Stick samples and Large Swatches.
-
Sales tax will follow the state, county and/or city guidelines in which the paint is delivered. The sales tax will be calculated at checkout.
-
Once an order has been fulfilled, UPS tracking numbers will be updated and emailed to you. Peel & Stick samples and Large Swatches will be sent via USPS within 24-48 hours of receiving order.
-
Once an order is placed, allow 1 to 2 business days for production and processing. The Room & Board Paint facility is located in Minnesota. Transit from our warehouse to your doorstep is usually 3-5 days*. You will receive the UPS Tracking Number via email.
*Shipping may be delayed due to weather conditions. Our paint is manufactured in Minnesota. During November to March, paint shipping may be delayed due to weather conditions. Warmer climates should be aware that paint should not be in heat above 110°F. We recommend moving your paint inside within an hour of delivery to avoid complications with the product.
-
We do not ship paint to P.O. Boxes. We require a valid address for shipping paint. Peel & Stick samples and Large Swatches can be delivered to P.O. Boxes.
-
All Room & Board Paints custom-tinted at the time of purchase. Once produced, orders are non-cancelable.
-
Due to the custom nature of the product, all tinted paint is non-returnable. If you have an issue with your paint, please reach out to roomandboard@hirshfields.com and we will address your concerns.
-
Hirshfield's Paint Manufacturing warrants this Room & Board Paint product to perform satisfactorily when used in accordance with label directions. Hirshfield's will replace the product or refund the purchase price in the event the product is proven defective, which shall be the exclusive remedy under the warranty. Liability for consequential damages is specifically excluded. No other warranties express or implied are given.
-
Needs will vary depending on the project, however, most projects will require a paint brush for cutting, a roller for a smooth finish, a tray to hold your paint, and painters tape to protect any woodwork or windows.
Shop Our Painting Kits -
We've got you covered! Order everything you will need to complete your paint project right here, on our site. Our Painting Kits are complete with quality supplies that will help you tackle your paint project like a pro.
Shop Our Painting Kits -
Choosing the right sheen for your painting project is a critical step for a lasting paint job. Using a paint with a higher gloss increases the durability of paints, resistance of stains and moisture resistance. Higher sheen levels will also highlight defects and imperfections on a surface.
Learn more about sheen. -
In order to properly dispose of your paint, you must make sure that it is completely dried out before throwing it away. Do not throw away liquid paint in the trash or sink. Leaving your paint can open for a few days will dry up small amounts of excess paint. If you have a lot of paint left over, adding an absorbent material, such as cat litter, will help dry the paint before disposing. For alternatives, check with your local recycling provider
PaintCare is a program that allows customers to recycle their left over paint, in an environmentally friendly way. If you live in one of the states that participates in PaintCare, your excess paint can be disposed of at your local participating paint store. Click the link below to find your local dealer. Visit the Paint Care website.
-
Hirshfield’s Platinum Ceramic™ Paints are low VOC and Greenwise certified. VOC stands for volatile organic compounds. VOC’s are gases that are emitted from certain solids or liquids and include an array of chemical, some of which may have adverse health effects. Because of this, Hirshfield’s is committed to supply low-VOC paint that meets the standards set by Minnesota’s Air Quality regulations and Greenwise certification.
-
Greenwise Certification promises that our paints are environmentally responsible and meet the highest expectations of performance. For more information on what Greenwise Certification means to you, visit the Greenwise website.
-
Find cool, dry places to keep your paint and label containers well including the room you painted and the date, so you can keep track for touch ups. Remember, latex paint that has frozen cannot be used again or recycled. Excessive heat is also not good for paint.
-
The Peel & Stick collection is created from the 10 Room and Board Classic colors. All paint colors are available for purchase in Large Swatches.
Paint Shipping & Returns
WARRANTY
SUPPLIES
PRODUCT DETAILS
-
Hirshfield’s Platinum Ceramic Paint is self priming on most surfaces. No primer is needed when painting over new or previously painted drywall. When painting over new drywall, two coats of paint are required, with the first coating acting as the primer. Refer to the can directions or data sheet for more detailed information. Still unsure? Reach out to roomandboard@hirshfields.com
-
The Platinum Ceramic line of paint is an Interior Only Paint.
-
Yes, our paint can be used on ceilings and furniture. For ceilings, we recommend ordering a matte paint. For furniture, we recommend choosing the appropriate primer for your project and using a satin finish paint.
-
Yes! Our paint can be used with a sprayer.
-
Hirshfield’s paints made for Room & Board covers approximately 350-400 square feet per gallon.
-
Hirshfield’s recommends at least 2 coats of paint for your project, or until desired coverage and color is achieved.
-
Proper preparation of the surface you are painting and the area around it is one of the most important steps. Prepping your surface correctly will help ensure a lasting paint job. Start by clearing the area around the walls of furniture and removing anything adhered to your walls. Next, cover the floors with plastic or canvas to avoid paint from dripping onto the floor. Then you will need to tape around all woodwork, including baseboards, window frames and door frames. Lastly, it is important to clean the surface of any dirt, dust, wax, grease, oils or other contaminants. Use a mild detergent and water or a commercial wall-cleaning product, such as TSP, to clean the walls. Rinse the surface with clean water and allow it to dry.
-
First you must remove the metal clips with a flat head screwdriver. Place the screwdriver head under the clip and twist to remove the clip. Using either a paint can opener or a flat head screwdriver, pry open the lid. Be sure to hammer lid back into place when you have completed you project.
-
“Cut-in” approximately 2″ around ceilings, floor and around any woodwork using a brush. Finish walls using a roller, coming as close to the edges as possible, to create a clean, uniform finish.
-
“Cutting-in” is the process of painting the edges of your walls with a brush before you roll out your paint. To begin, you first must lay your tape to protect your woodwork and to help create a clean straight line. Then, you will use the tip of your brush and glide your brush along the wall up against the tape and approximately 2” around the ceilings, floor and any woodwork.
-
STEP 1
Pour your paint into a Handy Paint Pail or small bucket.STEP 2
Hold the brush near the base of the handle and dip the bristles a third of the way into the paint. Use raised lip or tap the brush against the inside walls of the bucket.STEP 3
Paint with enough pressure to bend the bristles slightly. Don’t push down hard on the brush. -
STEP 1
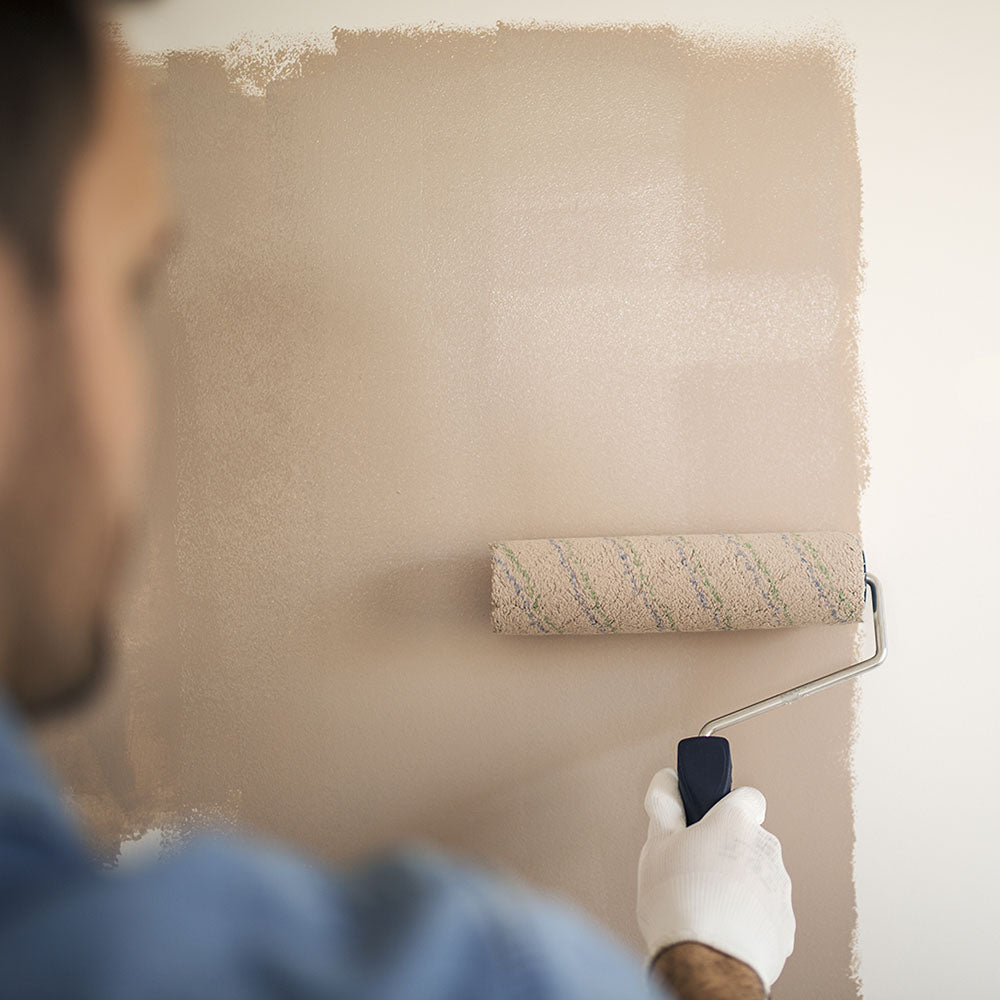
Move the roller slowly into the paint in the tray, then roll it back and forth until paint cover is evenly coated. Roll onto the tray’s ridges to remove excess paint.STEP 2
Cover about a 2-square-foot area using the “N” pattern, rolling upward first, to minimize drips.